THE MASK

To begin with my third assignment (3C- The Mask), there are lots of material to prepare.
Materials to make paper mache mask:
- Tissue paper
- Paper towel
- Flour and water
- Poster colours
- Paint brushes #2 and #9
- Aluminium Foil
- Scissor and Penknife
- Your own creativity
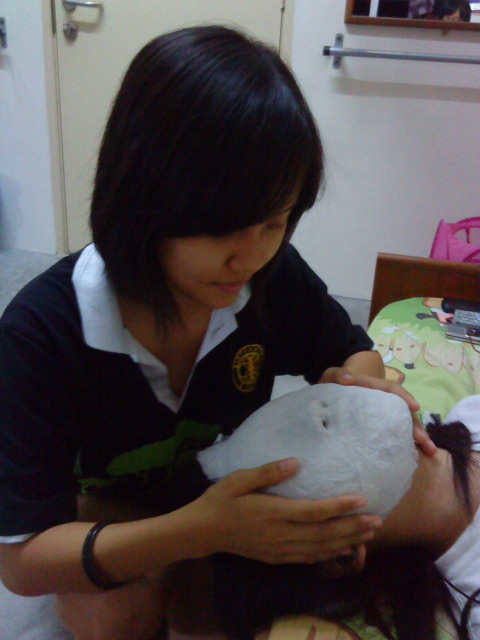
We in a group of 2 took turns to help each other do the mask.
- Making a mask by using my face as a mold, my partner, Pui yeen helped me to put the very first layer on my face. The first layer must be very wet as the tissue paper would be sticked firmly on my face.
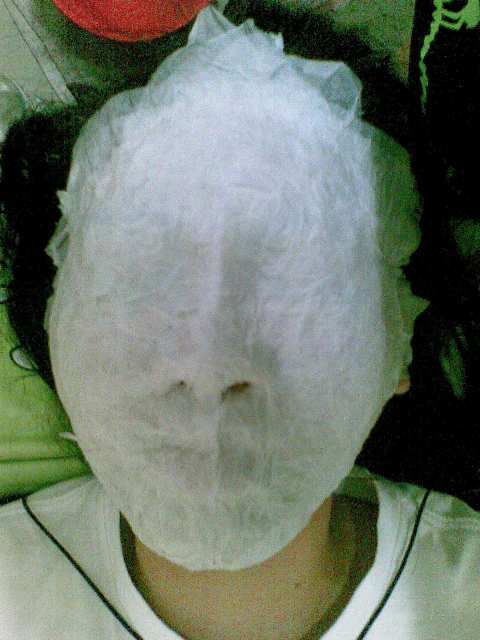
- Then, she continuously stacked the second layer of tissue paper on my face. This time angling the strips in a horizontal direction, and overlapping. When the first layer of tissue papers stack started to be thick, deft skills were needed to enhance the shape of the curve by pressing around the edge of the nose, mouth and eyes so that my facial feature could be stamped on the tissue paper stack.
- After overlapping the whole tissue papers, the tissue papers were torn into small pieces and pasted it on the the first layer. Again, slowly put the whole tissue papers on the second layer where this was the third layer. The mask was ready to be dried.
- The mask was dried with hair dryer to spur up the drying process.
v. After half an hour, the mask could be taken out.
vi. The mask was placed under the sun for 1 day. After that, the mask was totally dry and hard, then i applied a layer of
glue on both sides of the paper mache mask.
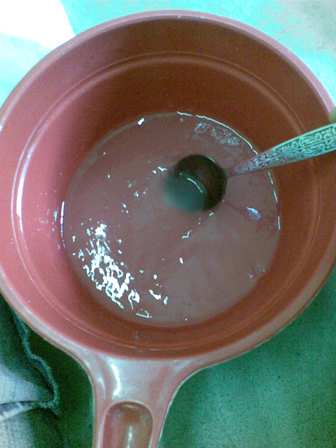
The glue was made of flour by adding hot water and stirred it. The flour was ensured that it was completely
dissolved in the hot water.
vii. After the glue dried, the mask was harden. Then, i cut my eyes by using penknife and scissor.
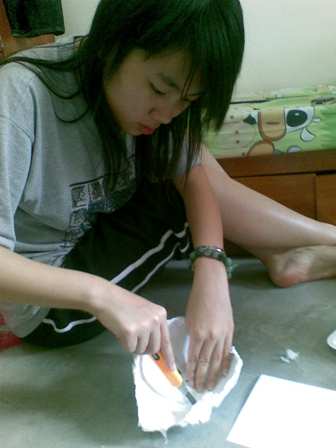
viii. The mask was ready to be painted. In order to protect the mask from deforming after painting, i traced the mask
to make a protection by using the aluminium foil. Then, i started to paint.

xiv. The mask was finally completed.

Does it looks alike?
Now, is time for me to help my friend to do the mask.......
The mask is made with the purpose of wearing it after each time we take picture for our project.
Our HBP students' faces are too captivating therefore a mask is needed to cover our face. =P